In this article (13 sections)
- Why the Right Diagnostic Tools Matter
- The Core Diagnostic Tools Local Pros Use (and What Each One Proves)
- Quick Tool-to-Problem Guide (Easy to Screenshot)
- What a Well-Equipped Diagnostic Visit Looks Like
- Common Spring Valley Scenarios Where Better Diagnostics Saves Real Money
- How Diagnostics Tie into Repair Choices (Without Guesswork)
- Red Flags: When the “Diagnostic” Isn’t Really a Diagnostic
- Smart Questions to Ask Before You Book a Diagnostic Visit
- Why Pros Combine Tools: Two Typical Scenarios
- What “Good” Looks Like After Diagnostics
- Confidence You Can See: The Proof-First Finish
- Frequently Asked Questions
- Stop Guessing—Get Proof-First Plumbing Diagnostics in Spring Valley
Short answer: Plumbers use a sewer camera with a locator to see cracks, roots, and offsets; acoustic leak detectors to pinpoint pressurized leaks under slabs; thermal cameras and moisture meters to map hidden water; and pressure gauges to separate leaks from regulator problems. Combining tools gives documented proof and avoids unnecessary demolition.
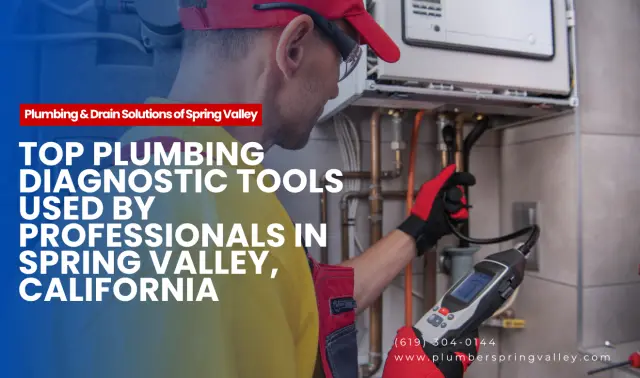
The right plumbing diagnostic tools let a plumber find leaks, clogs, and hidden pipe damage accurately before anything is opened up. In Spring Valley, California, the top tools typically include a sewer camera for checking cracked or root-invaded lines, an acoustic leak detector for pinpointing a slab leak without breaking concrete, and a moisture meter or thermal imaging camera to confirm water intrusion behind drywall. A digital pressure gauge helps verify whether a drop in water pressure is caused by a failing regulator, a partial blockage, or a leak. With the right tools, plumbers can show you the issue on-screen, mark the exact spot to repair, and avoid unnecessary wall or yard demolition.
Why the Right Diagnostic Tools Matter
When you hire a plumber who uses proper diagnostic tools, you’re not just paying for “a plumber to look at it.” You’re paying for verified evidence—pinpointed locations, measurable readings, and visual confirmation—so repairs are targeted instead of guesswork.
That matters in Spring Valley because many homes have a mix of older piping, slab foundations, and landscaping that can hide problems for weeks. The right diagnostic setup helps a technician:
- Find the exact leak or blockage location before cutting drywall or concrete
- Confirm the cause of low pressure (leak vs. regulator vs. restriction)
- Document findings with photos/video for insurance or property records
- Reduce overall repair time (and the “mess factor”)
The Core Diagnostic Tools Local Pros Use (and What Each One Proves)
Here are the essential tools you should expect a professional to have. Each tool answers a specific question quickly and accurately.
1) Sewer/Drain Camera (Video Inspection)
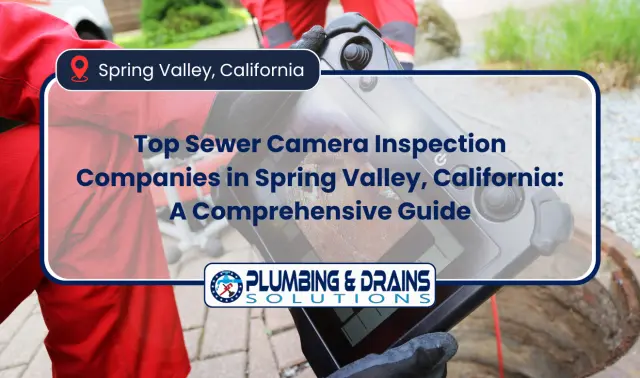
A sewer camera is one of the most persuasive tools because it shows the problem in real time—cracks, offsets, root intrusion, grease buildup, or collapsed sections.
Best for:
- Recurring backups
- Slow drains throughout the house
- Suspected root invasion in the yard line
- Pre-purchase inspections and remodel planning
What a good inspection includes:
- Clear video with a locator to mark depth and location
- Notes on pipe material (cast iron, ABS, clay, etc.)
- Actionable recommendations (cleaning vs. repair vs. replacement)
If your issue involves the main line, a dedicated Sewer Video Inspection is often the fastest way to move from “symptoms” to a confirmed cause, and it helps avoid unnecessary digging.
2) Acoustic Leak Detector
Acoustic leak detection equipment “listens” for the sound frequency of pressurized water escaping a pipe. It’s especially useful for slab leaks and buried line leaks where water may not surface immediately.
Best for:
- Slab leaks under concrete foundations
- Underground water service leaks
- Mystery water sounds (hissing/running water when fixtures are off)
Why it’s valuable: It helps narrow the search area so repairs can be made with minimal demolition. If you suspect a leak under your foundation, learn more about slab leak detection and repair.
3) Thermal Imaging Camera (Infrared)
Thermal imaging doesn’t “see water,” but it does show temperature differences caused by wet materials, evaporative cooling, or hot water leaks. Used correctly, it can confirm the likely spread of moisture behind walls, under flooring, or in ceilings.
Best for:
- Hot water line leaks
- Moisture mapping after a leak
- Verifying wet areas before opening walls
Pro tip: Thermal imaging is strongest when paired with a moisture meter (below). Look for providers who combine tools instead of relying on a single reading.
4) Moisture Meter (Pin/Pinless)
A moisture meter measures moisture content in building materials (drywall, baseboards, flooring). This helps confirm whether staining is active moisture or old damage.
Best for:
- Water stains on ceilings or walls
- Suspected shower pan leaks
- Cabinet base swelling under sinks
Why it matters: Moisture verification supports accurate scope decisions—what truly needs drying/removal versus what can stay.
5) Digital Pressure Gauge + Pressure Test Kit
Low pressure complaints are common, but the cause varies. A digital gauge provides real numbers and can reveal pressure drops over time.
Best for diagnosing:
- Failing pressure regulators
- Hidden leaks (pressure falls when water is off)
- Partial blockages (flow issues that feel like pressure problems)
A pressure gauge is a must-have for any plumber—it’s basic, fast, and prevents misdiagnosis.
6) Smoke Test (for Sewer Odor & Venting Issues)
If your home smells like sewer gas but drains “seem fine,” a smoke test can reveal cracks in vent piping, bad seals, or hidden openings where odors escape.
Best for:
- Persistent sewer smell in bathrooms/laundry
- Odors after remodels
- Suspected vent line breaks
7) Dye Testing (Toilets, Showers, and Drain Cross-Connections)
Dye tests are simple but effective—especially for toilet flappers that leak silently into the bowl or for tracking where water is traveling.
Best for:
- High water bills with no visible leak
- Toilet ghost-filling or running intermittently
- Tracing suspected shower or tub leaks
Quick Tool-to-Problem Guide (Easy to Screenshot)
This chart summarizes what matches which symptom.
| Symptom | Most Useful Diagnostic Tool | What It Confirms |
|---|---|---|
| Repeated backups / multiple slow drains | Sewer camera + locator | Roots, collapse, offset joints, heavy buildup |
| High water bill with no obvious leak | Pressure test + acoustic detection | Hidden pressurized leak location and severity |
| Warm spot on floor / suspected slab leak | Thermal camera + acoustic detection | Likely leak path and pinpoint area |
| Sewer odor that comes and goes | Smoke test + camera (as needed) | Venting leaks, broken fittings, odor escape points |
What a Well-Equipped Diagnostic Visit Looks Like
Homeowners don’t need to become plumbers, but you can absolutely spot the difference between a well-equipped diagnostic visit and a “trial-and-error” approach. Look for these signs of a professional process.
They explain the “why,” not just the “what”
- What symptom suggests (leak vs. clog vs. venting)
- What tool will be used and what it can/can’t prove
- What the next step will be based on the result
They document results clearly
- Video clips or images from inside the line
- Marked locations (paint/flags) for digging or slab access
- Pressure readings and time-based drop notes
They use more than one tool when needed
A single tool rarely tells the full story. The most accurate outcomes happen when technicians combine tools—for example, thermal imaging to map a wet area and acoustic equipment to pinpoint the leak.
Common Spring Valley Scenarios Where Better Diagnostics Saves Real Money
Scenario 1: “It’s probably just a clog” (but it’s actually a damaged sewer line)
A recurring backup might temporarily improve after snaking, but a camera inspection can reveal:
- Root intrusion repeatedly catching debris
- Bellies holding standing water
- Cracked pipe sections that worsen over time
That’s why many homeowners read up on ongoing drain care before they commit to repeated cleanings. Practical habits and warning signs are covered here: drain maintenance.
Scenario 2: Low pressure that isn’t a water-supply issue
Low pressure can come from:
- A failing pressure regulator
- Partially closed valves
- Corroded/undersized piping
- A hidden leak
Using a gauge and controlled pressure testing helps separate “low flow” from “low pressure” and prevents replacing the wrong part.
Scenario 3: Hidden water damage behind walls
Moisture meters and thermal imaging can help identify the boundaries of wet materials so repairs focus only where needed—especially important when multiple rooms share plumbing walls.
How Diagnostics Tie into Repair Choices (Without Guesswork)
Plumbing is a system—water supply, drainage, and venting all work together. Accurate diagnostics reduce collateral damage because you’re repairing the verified failure point, not “trying something.” For background on how these systems work together, see plumbing.
Once the source is confirmed, the next steps usually align like this:
- Confirmed blockage + intact pipe: cleaning methods like snaking or hydrojetting
- Pipe damage (crack/collapse/offset): spot repair or replacement planning
- Confirmed slab leak: localized access repair or reroute/repipe options
- Moisture intrusion: drying, removal decisions, and water damage restoration
This is why good diagnostics often save money: the repair scope becomes precise.
Red Flags: When the “Diagnostic” Isn’t Really a Diagnostic
Watch for these warning signs during scheduling or the onsite visit:
- No mention of camera inspection for recurring sewer issues
- Immediate recommendation to “dig and see” without attempting location methods
- Vague explanations like “pipes do that” with no readings, images, or measurements
- No ability to locate the camera head (no locator) for buried line problems
- Claims that a thermal camera “proves” a leak without verifying moisture or sound
Smart Questions to Ask Before You Book a Diagnostic Visit
Ask questions that reveal both equipment and process:
- “Will you be using a camera with a locator if this is a main line issue?”
- “If you suspect a leak, do you perform a pressure test and provide readings?”
- “Do you use acoustic detection for slab leaks, and can you mark the spot?”
- “How will you document findings—video, photos, written notes?”
- “What’s the plan if the first test is inconclusive?”
These questions matter because they push the visit toward evidence-based results.
Why Pros Combine Tools: Two Typical Scenarios
Below are typical scenarios showing how layered diagnostics compare with one-off checks. Every home is different, but the logic is the same.
Example: Slab leak suspected from a warm spot on tile
- Thermal imaging identifies the warm trail path
- Acoustic detection pinpoints the loudest point
- Pressure testing confirms active loss
Result: A small access point is opened at the most likely failure area instead of exploratory demolition.
Example: “We snake it every few months”
- Sewer camera reveals root intrusion and a slight offset catching paper
- Locator marks the yard location and depth
Result: Homeowner can plan a targeted repair rather than paying for endless cleanings.
What “Good” Looks Like After Diagnostics
After a professional visit, you should have at least one of the following in hand:
- A short video clip or images from inside the sewer/drain line
- Written pressure readings and test duration
- Moisture readings showing affected vs. unaffected areas
- A marked location for repair (when applicable)
- A clear explanation of repair options, risks, and urgency
If you don’t get any proof, it’s hard to say you truly got a diagnostic. Ask for documentation that backs up every recommendation.
Confidence You Can See: The Proof-First Finish
The best outcomes happen when your plumber uses tools to verify, not guess. Camera footage, pressure numbers, acoustic pinpointing, and moisture confirmation turn a stressful plumbing mystery into a clear plan.
In practice, this proof-first approach aligns with how licensed plumbers and restoration professionals are trained to reduce damage and improve repair accuracy. When your technician arrives with the right tools—and the willingness to show you the results—you’re far more likely to get a targeted repair, fewer surprises, and a home protected from repeat issues.
For Spring Valley homeowners, the takeaway is simple: choose a plumber who diagnoses with the right tools, insist on documented findings, and you’ll avoid paying for trial-and-error work.
Frequently Asked Questions
Stop Guessing—Get Proof-First Plumbing Diagnostics in Spring Valley
If you’re dealing with mystery leaks, recurring clogs, or low water pressure, don’t settle for “we’ll open the wall and see.” Our team uses diagnostic methods such as sewer camera inspection and pressure testing to find the cause and recommend a targeted repair. Contact us or call (619) 304-0144 to schedule a diagnostic visit and get documented findings and clear options.