Executive Summary
Same day tankless water heater installation Spring Valley is achievable in one visit when the home’s gas capacity, venting pathway, electrical supply, and water piping layout can support the unit’s full-fire operation and code-required safety components. The definitive way to prevent callbacks is a documented pre-install survey followed by code-compliant gas/vent/water upgrades, pressure testing, and commissioning that confirms stable hot water under real fixture demand.
3 Core Insights
- Gas Line Sizing Drives Same-Day Feasibility: Because tankless units require high BTU input, the job only stays “same-day” when meter capacity and developed-length pipe sizing are verified and any needed upsizing is completed and pressure-tested.
- Venting Must Match the Appliance Listing: Condensing vs non-condensing determines approved vent materials, routing, termination clearances, and whether condensate drainage is required, and mismatches create both safety risks and inspection failures.
- Serviceability and Commissioning Prevent Future Problems: Isolation valves with service ports plus startup verification (gas integrity, ignition stability, modulation, and fixture temperature checks) are what keep hot water consistent after the installation.
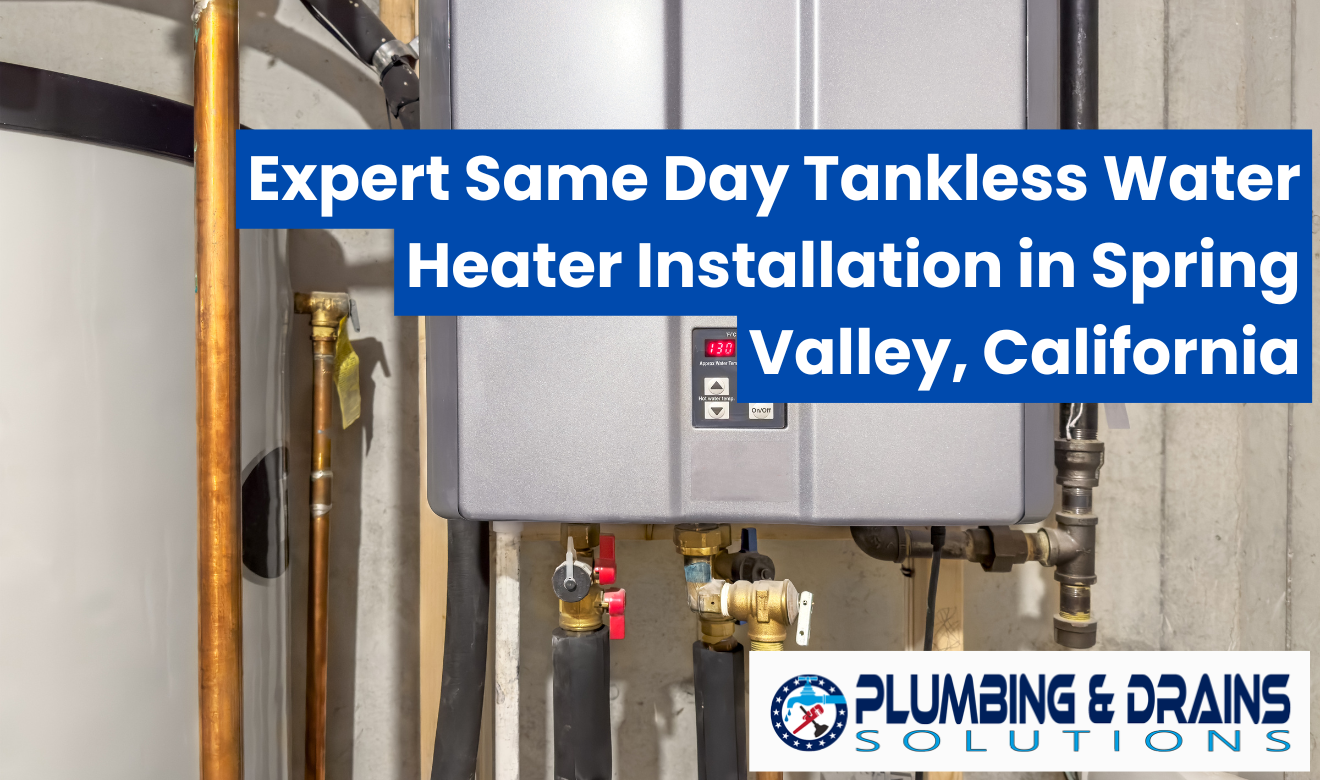
Same day tankless water heater installation Spring Valley is a rapid, code-compliant service that replaces a failed water heater with an on-demand system in one visit. Technicians start with a site survey of the existing gas line size, vent path, and electrical supply, then confirm the home’s BTU demand based on fixture count and incoming water temperature in East County conditions. A typical Spring Valley swap includes removing the old tank, mounting the tankless unit with required clearances, and installing isolation valves with service ports for annual descaling. Gas work often involves upsizing to a properly sized line section from the meter to support full fire, followed by a pressure test to verify there are no leaks. Venting is set to the correct material and slope for condensing or non-condensing operation, with sealed penetrations at the wall or roof to prevent moisture intrusion. Water piping is reworked with a dedicated shutoff, a pressure relief discharge line routed to an approved location, and a sediment screen or pre-filter where needed for local water conditions. Start-up includes combustion and temperature verification at multiple fixtures, plus guidance on flushing intervals and error-code basics so hot water stays stable after the install.
What “Same-Day” Tankless Installation Means in Spring Valley
Same-day installation means the system is assessed, permitted where required, installed, tested, and placed into safe operation in a single visit when site conditions allow. The work is still held to the same safety, venting, fuel-gas, and plumbing requirements that apply to any replacement.
For Spring Valley homes, a “one-visit” tankless change-out typically hinges on whether the existing infrastructure can support the unit’s full input:
- Fuel supply capacity: tankless units draw high BTU rates; many homes need a gas line resize or re-route.
- Correct venting pathway: non-condensing models typically require Category III venting; condensing models use approved plastic venting (per listing) with proper termination clearances.
- Electrical readiness: most gas tankless heaters need 120V power for controls, fan, and ignition.
- Water quality controls: isolation valves and service ports are standard so annual flushing can be done without cutting pipes.
Pre-Install Site Survey: What Technicians Verify Before Any Work Starts
A proper site survey confirms the home can deliver the flow, temperature rise, fuel volume, and venting performance the heater requires. This step prevents undersized gas lines, nuisance error codes, and unstable outlet temperatures after the swap.
The evaluation should be documented and include measurable checks rather than guesses:
- Incoming water temperature and required temperature rise: used to size GPM output realistically for East County seasonal conditions.
- Fixture count and simultaneous-use demand: showers, tubs, dishwasher, clothes washer, and multi-bath use patterns.
- Gas meter and existing piping: pipe material, run length, fitting count (equivalent length), and meter capacity to support full-fire input.
- Venting route and termination location: wall/roof termination feasibility, required clearances, and whether condensate management is needed.
- Water pressure and regulator status: verify pressure is within safe operating range and confirm PRV function when present.
- Code and listing compliance: the heater must be installed per manufacturer instructions and applicable California/Uniform codes adopted by the local Authority Having Jurisdiction (AHJ).
If the survey finds aging shutoffs or an uncertain gas branch, pairing the install with water and gas emergency shut-off valves upgrades can reduce risk and speed future service.
Core Code & Safety Requirements That Apply to Tankless Replacements
Tankless installations in California must follow the California Plumbing Code (based on the Uniform Plumbing Code) and California Mechanical Code (based on the Uniform Mechanical Code), plus the appliance listing and manufacturer instructions. The “listing and labeling” rule is critical: the installation must match what the unit is certified for.
Key compliance items that commonly determine whether a same-day install is possible include:
- Seismic support: equipment must be secured appropriately for seismic conditions; wall mounting must meet manufacturer fastening requirements into suitable framing/masonry.
- Pressure relief and discharge routing: the temperature/pressure relief requirements are addressed per the heater design and code; discharge lines must terminate at an approved location and be installed per code.
- Combustion air and venting: vent material, slope, support spacing, and termination clearances must match the model type (condensing vs non-condensing) and the installation manual.
- Gas piping and testing: any alteration to gas piping must be tested in accordance with adopted code and inspected as required by the AHJ.
- Backflow and cross-connection control: where required, ensure compliance for recirculation systems and any make-up water arrangements.
Because plumbing work intersects with multiple code books and enforcement rules, it helps to understand the broader discipline of plumbing standards and how appliance listings tie into safe installations.
Gas Line Sizing: The #1 Factor That Makes or Breaks a One-Visit Swap
Tankless units frequently require substantially higher gas flow than storage tanks, so verifying line capacity is mandatory. If the gas piping cannot support full fire, the heater may short-cycle, throw combustion faults, or fail to deliver rated output.
What “gas line work” commonly includes on a same-day replacement:
- Meter-to-appliance capacity check: confirm the gas meter rating and total connected load (furnace, range, dryer, fireplace, etc.).
- Pipe sizing calculation: size is determined by fuel gas code tables using developed length/equivalent length and the appliance input BTU/h.
- Targeted upsizing: many upgrades involve replacing a segment from the meter to a branch manifold, not necessarily every run in the house.
- Sediment trap (drip leg) where required: installed according to code and manufacturer guidance to protect gas valves from debris.
- Pressure test and leak check: performed after changes; final leak checks at unions, valves, and appliance connections are standard.
If the home has older piping, recent remodel tie-ins, or corrosion concerns, scheduling a focused evaluation alongside gas line re-piping planning can prevent repeated callbacks and future restrictions on appliance upgrades.
Venting & Condensate: Matching the System Type to the Home
Correct venting is determined by whether the unit is condensing or non-condensing and by the manufacturer’s certified vent system requirements. Vent material, routing, support, termination clearances, and condensate handling must match the listing.
In practical terms, the installer will confirm:
- Non-condensing tankless: typically requires Category III stainless venting and precise termination placement; backdrafting prevention and joint sealing are critical.
- Condensing tankless: commonly uses approved plastic venting per the manufacturer’s instructions; condensate must be drained in a code-compliant manner (often via an approved drain point and sometimes through a neutralizer if required by local practice/manufacturer guidance).
- Penetrations: wall/roof penetrations must be sealed and flashed correctly to prevent moisture intrusion and building envelope damage.
- Clearances: termination must respect clearance requirements from openings, soffits, and property lines as specified by the manufacturer and adopted mechanical code.
Water Piping Rework: Isolation Valves, Service Ports, and Flow Stability
A correct piping layout improves serviceability and keeps temperature delivery stable under changing demand. Most same-day installs include a service-valve kit so the heater can be descaled without disassembling plumbing.
Standard piping elements for an on-demand replacement include:
- Hot and cold isolation valves with service ports: enables routine flushing/descaling using a pump.
- Dedicated equipment shutoff: accessible shutoff valves reduce emergency downtime.
- Pressure/temperature protections: installed in accordance with the appliance design and applicable code requirements; discharge routed to an approved termination point.
- Thermal expansion control: if the home has a pressure regulator or backflow prevention creating a “closed system,” expansion control may be required to manage pressure rise.
- Filtration/sediment screening where appropriate: helps protect the heat exchanger from debris; selection depends on site conditions and water quality considerations.
If the home also shows fluctuating pressure or has a failing regulator, addressing it at the same time as the heater can prevent nuisance temperature swings; see Water Pressure Regulators for related service options.
System Commissioning: The Tests That Confirm Safe, Reliable Operation
Commissioning verifies combustion, venting performance, and delivered temperature under real fixture loads. A proper start-up is a safety step and a performance step—especially for gas appliances with fan-assisted combustion.
A thorough same-day start-up sequence typically includes:
- Gas integrity verification: leak checks at all new joints and appliance connections; confirm correct supply pressure per manufacturer specs.
- Combustion confirmation: confirm the unit ignites reliably and remains stable at low and high fire.
- Temperature validation: verify setpoint and measure actual outlet temperature at multiple fixtures under flow.
- Flow-rate and modulation check: confirm the heater maintains temperature while another fixture opens (e.g., shower + sink).
- Error-code baseline review: document any startup codes and resolve root causes immediately (venting, gas pressure, condensate drainage, or airflow issues).
Before leaving, technicians should provide clear operating guidance, including how to reset the unit safely, where isolation valves are located, and what maintenance intervals are recommended by the manufacturer.
Local Installation Metrics Table: What Must Be Verified On-Site
The table below summarizes the installation checkpoints that determine whether a replacement can be completed same day and pass inspection. Each item ties to manufacturer instructions and adopted California/Uniform code enforcement through the local AHJ.
| Feature / Metric | Specifications | Local Guidelines |
|---|---|---|
| Gas supply capacity | Gas piping must be sized by fuel gas code tables for appliance BTU/h and developed length; meter must support total connected load. | Any gas piping modification requires code-compliant testing and AHJ inspection rules; verify shutoff accessibility. |
| Venting system compatibility | Vent material and routing must match the heater listing (condensing vs non-condensing) and manufacturer instructions. | Termination clearances and sealed penetrations must meet adopted mechanical code and manufacturer requirements. |
| Serviceability (flushing) | Isolation valves with service ports enable descaling and protect the heat exchanger from mineral buildup. | Annual or manufacturer-recommended flushing intervals are typical; document valve locations for the occupant. |
| Condensate management (if condensing) | Condensate must drain to an approved point; routing must prevent freezing, blockage, and backflow. | Follow manufacturer instructions and local plumbing enforcement for drain connection methods and materials. |
| Start-up verification | Confirm ignition, stable modulation, and delivered temperature at fixtures; verify no error codes under load. | Document setpoint and safety checks for inspection readiness and homeowner reference. |
Common Same-Day Obstacles (and How They’re Resolved Without Cutting Corners)
Most delays come from fuel-gas limitations, venting constraints, or missing service clearances—not from the heater itself. Identifying these early keeps the job compliant and avoids rework.
Typical obstacles and compliant solutions:
- Undersized gas line: resize sections from meter to appliance branch, then test and verify supply pressure under load.
- No viable vent route: select a heater type compatible with available routing, or adjust termination location while maintaining required clearances.
- Improper legacy water shutoff placement: add accessible shutoffs and a service valve kit to meet maintenance needs.
- Corroded or outdated piping connections: replace compromised segments and ensure approved transition fittings are used for dissimilar materials.
- Drain limitations for condensate: route condensate per manufacturer instructions to an approved drainage point; confirm slope and trap requirements if specified.
Maintenance After Installation: What Keeps Performance “Like New”
Tankless reliability depends on routine flushing, inlet screening, and periodic checks of venting and condensate components. Maintenance is not optional—scale buildup directly reduces heat transfer and can trigger overheat or flow-related faults.
Post-install best practices homeowners in Spring Valley should follow:
- Descale on the manufacturer’s interval: frequency depends on water conditions and usage; use the service ports installed during replacement.
- Clean the inlet screen: prevents flow restriction and ignition issues.
- Keep the vent termination clear: ensure no obstructions and that landscaping changes don’t interfere with airflow.
- Know where shutoffs are: gas and water shutoffs should be identified at handoff.
If the property has older drain infrastructure and you’re already scheduling plumbing work, proactive drain maintenance can help prevent unrelated backups that complicate utility-room access and emergency shutoff response.
Reliable Hot Water in One Visit: The Spring Valley Checklist That Matters
A same-day tankless replacement succeeds when sizing, venting, gas capacity, and commissioning are treated as mandatory steps—not “nice-to-haves.” The most dependable installs are the ones that can be inspected, serviced annually, and operated safely from day one.
Use this quick checklist to judge whether an installation plan is truly ready for same-day completion:
- Site survey confirms fixture demand and realistic temperature rise for local conditions.
- Gas line sizing is calculated (not guessed), and modifications are tested per code.
- Venting method and materials match the unit’s listing and manufacturer instructions.
- Isolation valves with service ports are installed for routine flushing.
- Startup includes verification at multiple fixtures and confirms stable operation under load.
When these items are completed in sequence, a failed storage tank can be replaced with an on-demand system in a single visit—delivering consistent hot water, inspection-ready workmanship, and a configuration that can be maintained for years without disruptive rework.
Frequently Asked Questions
Don’t Gamble With Gas, Venting, and Code—Get Same-Day Tankless Done Right
A “same-day” tankless install isn’t just swapping a box on the wall—it’s a high-BTU gas appliance upgrade that has to work flawlessly under real demand, pass inspection, and stay stable when multiple fixtures turn on. If the gas line is even slightly undersized, you can end up with short-cycling, cold-water bursts mid-shower, ignition failures, and repeated error codes that never truly go away. If the venting or termination clearances are wrong, you’re risking moisture damage, nuisance shutdowns, and potentially dangerous combustion and exhaust issues. And if the install skips proper isolation valves and service ports, routine descaling becomes a costly headache that shortens the unit’s life.
Local conditions in Spring Valley make the details matter: real incoming water temperatures, actual fixture demand, meter capacity, developed gas pipe length, correct vent materials, sealed penetrations, condensate routing (for condensing units), and a commissioning process that proves stable output at multiple fixtures. These aren’t “nice-to-haves”—they’re the difference between a tankless system that feels effortless and one that becomes a constant source of callbacks, repairs, and frustration.
If you want reliable hot water today—with an install that’s sized correctly, tested properly, and built to be maintained without ripping out pipes—bring in a local pro who does this work the right way the first time.